Getting the SO-101 Robot Arm Up and Running
While I no longer work for an AI robotics company (after more than five years at Waymo, Cruise, and 1X), edge inference and embedded compute are still very close to my heart, and from time to time I play with them in my hobby projects.
In all that time working in AI robotics, my work rarely involved producing the control signals that make a robot move in physical space. So I decided to buy an SO-101 robotic arm and play with code, models, and approaches that can manipulate real objects.
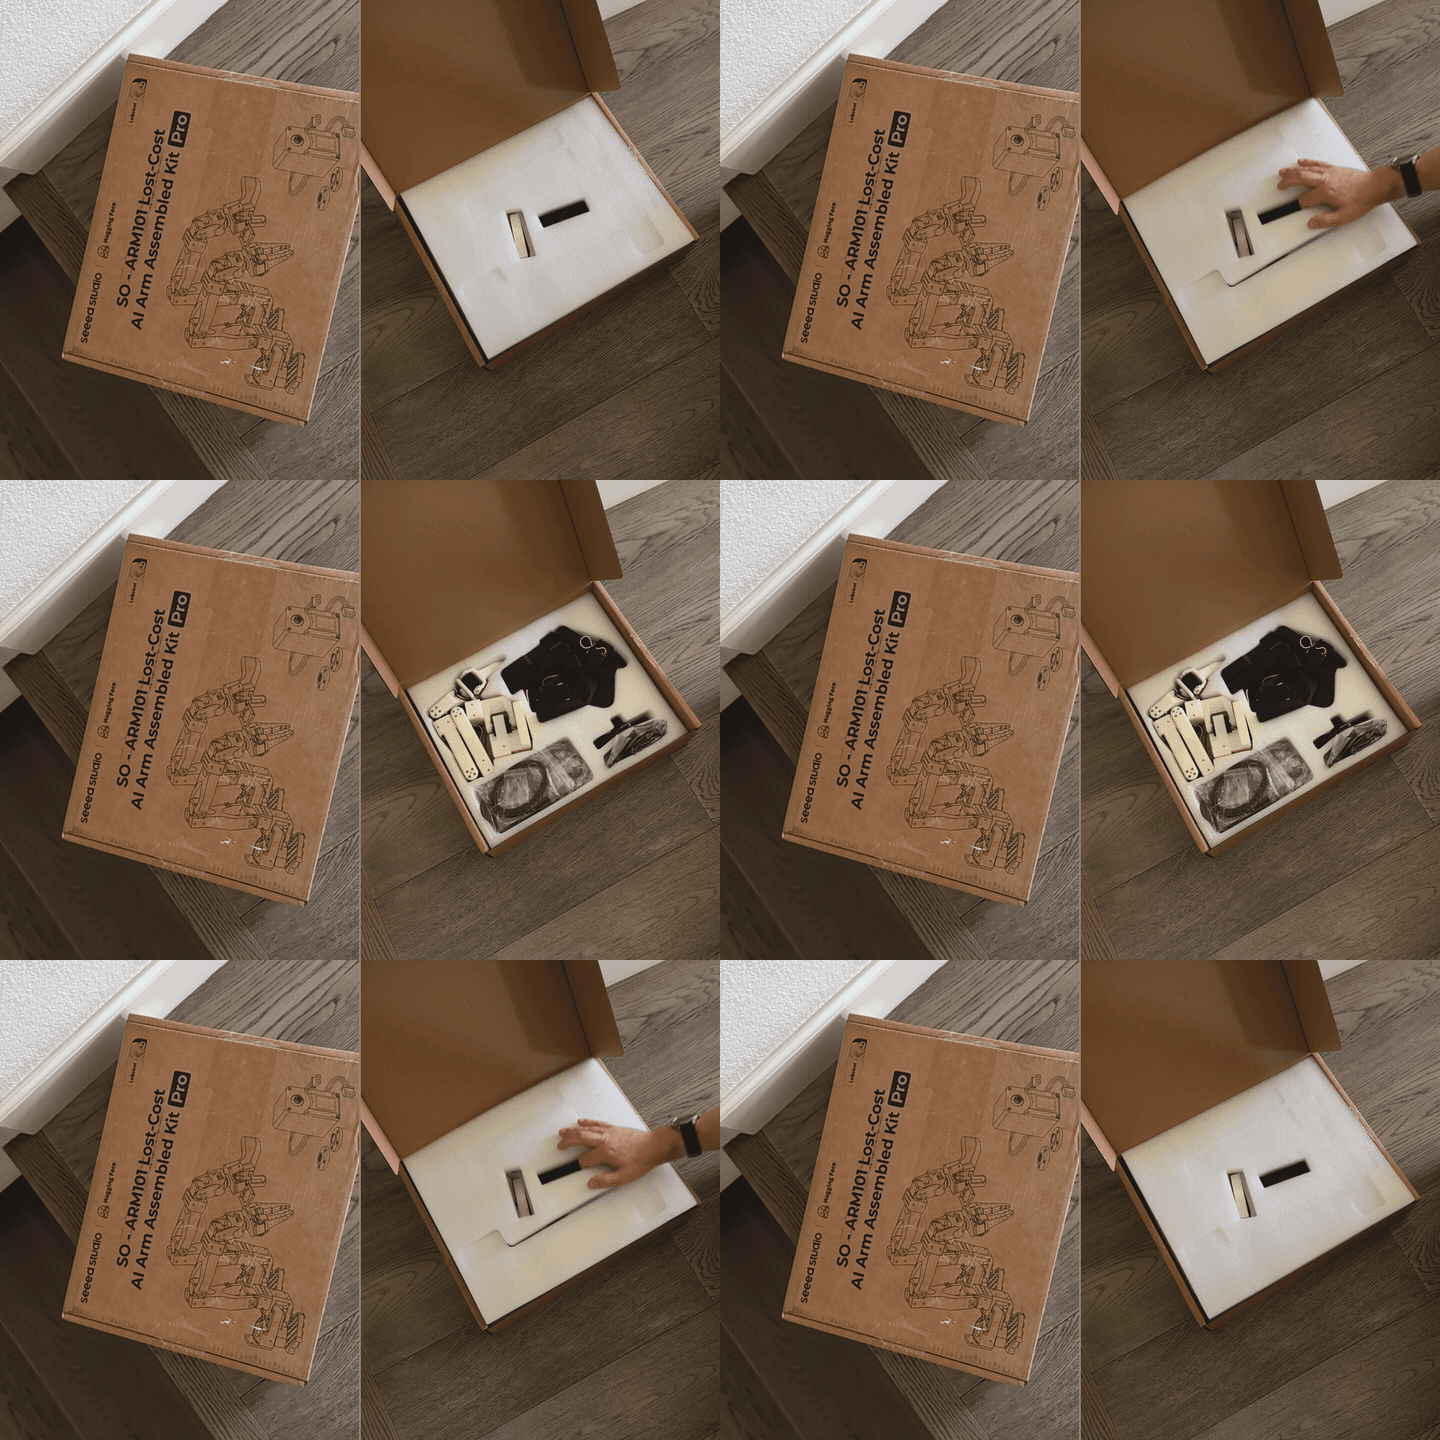
The first step was getting the arm up and running. Almost every AI robotics engineer has probably experienced the same thing: getting through the initial setup and installing all the dependencies takes a significant amount of time. The SO-101 was not an exception. In this post, I want to share my experience setting it up with a Jetson Orin Nano.
NVIDIA Jetson & reComputer
Before getting into the Jetson setup, I want to clarify what comes with the arm. When you buy the SO-101 kit, you get a leader arm and a follower arm. Each arm consists of 3D-printed structural parts, servo motors, a servo driver board, wiring, and a power supply. That is it. The servo motors account for more than 80% of the price; everything else is easy to buy or print. The kit does not include any compute for controlling the arms. Still, product pages may include statements such as "Deploy this arm kit with reComputer Mini J4012 Orin NX 16 GB." This is the part I want to explain.
Both the Jetson Orin Nano 8 GB and Orin NX 16 GB are compact systems-on-module (SOMs) designed for high-performance edge AI. A SOM is not a complete computer by itself; it needs a carrier board. If you are building your own hardware, you might sign an agreement with NVIDIA to purchase a specific number of Orin modules, but NVIDIA will supply only the modules, not the carrier board. You need to design one yourself or find an existing board that meets your requirements.
Seeed Studio, for example, sells the reComputer J401, an open-source carrier board for the Jetson Orin Nano and Orin NX. I already have an NVIDIA Jetson Orin Nano Developer Kit. It includes a carrier board and sufficient cooling, so I can start using it out of the box. When you read that a company (e.g. Neobotics Foundation) uses J401 or J4012, don't be confused. The "brain" is the same; the "body" is different. Both setups use the same Jetson Orin compute module. The difference is the carrier board it plugs into. Using the J401 instead of the NVIDIA Developer Kit does not make the Jetson itself any faster.
One caveat is hardware reliability. If I were buying another edge AI device for a hobby project, I would prefer one with an open-source carrier board. The carrier board in my Developer Kit has been unreliable. Sometimes the Jetson does not start with peripherals connected; other times it stops responding after sitting idle for a couple of days. NVIDIA may have fixed these problems in newer generations or changed suppliers. I still do not know whether the problem is the SOM, the carrier board, or simply my specific unit.
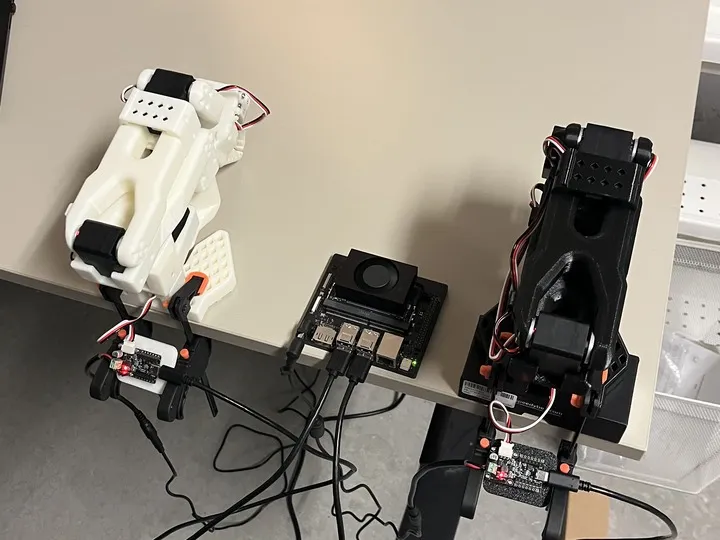
Back to the compute question: after assembling the arm and installing everything (see details below), I realized that I don't actually need a Jetson to control it. The models I plan to use are large and can only run on my workstation with a Blackwell GPU. I'll use remote inference, with a Raspberry Pi acting as a proxy for perception and control. If you only want to experiment with the leader-follower setup, direct joint or servo control, scripted trajectories, inverse kinematics, or recording and replaying demonstrations, a Raspberry Pi is good enough. You don't need to spend an extra $800–$2,100 on compute.
LeRobot Installation
With the hardware figured out, the next step was installing LeRobot on the Jetson. If you have read my previous posts, you probably noticed that I am a big fan of Astral tools, especially uv. When I set something up for the first time, though, I usually follow the official instructions. On the first try, I just want to make it work with as little friction as possible. I can do it my way later.
The instructions are clear and easy to follow, with one exception: installing PyTorch and Torchvision with GPU support. As you might have guessed, GPU support is unnecessary if you are not planning to run inference on the edge. This time, I followed every step anyway.
I run L4T R36.4.7. L4T stands for "Linux for Tegra." Tegra is NVIDIA's system-on-chip (SoC) platform, combining an Arm CPU, an NVIDIA GPU, and other components in a single package. I also run JetPack 6.2.1, which matches the guide's "JetPack 6.1 & 6.2 (L4T R36.4) + CUDA 12.6" wheel category. Once you carefully read the branching logic in the instructions, the steps are straightforward. My environment is called lerobot:
Uninstall the CPU-only PyTorch and Torchvision packages currently in the
lerobotenvironment:pip3 uninstall -y torch torchvision
Install prerequisite system packages:
sudo apt-get install python3-pip libopenblas-base libopenmpi-dev libomp-dev
Install Cython and NumPy (required before installing the wheels):
pip3 install 'Cython<3'
pip3 install numpy
Download the two NVIDIA/Seeed-hosted
.whl(links from the reComputer README, hosted on SharePoint) files for JetPack 6.1/6.2 and CUDA 12.6:- PyTorch 2.7 wheel (
torch-2.7.0-cp310-cp310-linux_aarch64.whlfor me) - torchvision 0.22.0 wheel (
torchvision-0.22.0-cp310-cp310-linux_aarch64.whlfor me)
- PyTorch 2.7 wheel (
Install both wheels inside the
lerobotConda environment:pip3 install <torch-file>.whl pip3 install <torchvision-file>.whl
Downgrade NumPy from 2.2.6 to 1.26.0 because some computer vision and Torchvision dependencies compiled against NumPy 1.x cannot run with NumPy 2.2.6:
pip3 install "numpy==1.26.0"
Yes, we are downloading "sketchy" wheels (torch and torchvision) from a third-party website (Seeed Studio) and installing them into the environment. If you have never done this before, unfortunately, it is common in robotics. You may need to download a specific Linux image from a hardware provider, a particular library build, or a modified version of PyTorch. Every time I play with new hardware, I go through this process, and every single time I feel uncomfortable because I do not know what else might be inside the modified build.
Still, I understand why this practice is so common. When I was building a Yocto Linux image for Neo, I had to add multiple "recipes." Each recipe contained build instructions for a software package and included my own patches and customizations needed for the embedded Linux environment running on the robot.
Teleoperation and Next Steps
With LeRobot installed, I could finally move on to teleoperation. Teleoperating a robotic arm (or almost any kind of robot, from a humanoid to a drone) is a lot of fun. The boring part comes later, when you need to collect demonstrations for imitation learning. 🤭
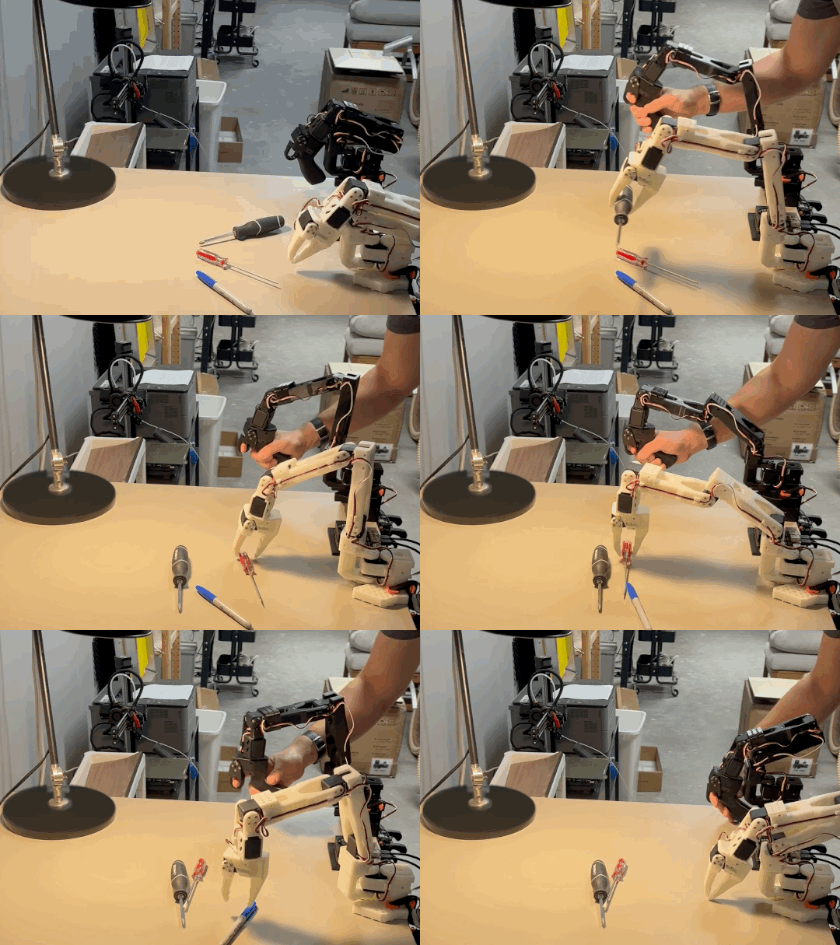
I don't have specific plans for what to try next, but there are many options, from classical methods (direct joint control, scripted motions, and inverse kinematics) to VLAs like OpenVLA or Pi0.5. You never know, one of them might turn into another post.